Installing hardwood floors involves more steps than many homeowners expect. Understanding the complete timeline helps you plan around the work, avoid surprises, and ensure the best possible results. Here is a detailed walkthrough of what happens from the moment you decide on hardwood to your final walk-through.
Phase 1: Consultation and Planning
The process begins before any materials are ordered. During the initial consultation, we visit your home to assess the existing conditions, take measurements, and discuss your vision for the project.
Site assessment. We examine the current flooring, subfloor condition, moisture levels, and any potential challenges. Homes in Northwest Arkansas may have concrete slabs, crawl spaces, or basements, each requiring different preparation approaches.
Measurements. Accurate measurements ensure we order the right amount of material with appropriate waste allowance. Complex room shapes, stairs, and transitions require careful calculation.
Material selection. Based on your preferences, budget, and our assessment of what will perform well in your home, we help you select the species, grade, width, and finish for your floors.
Phase 2: Material Delivery and Acclimation
This phase is critical and cannot be rushed. Wood is a natural material that responds to temperature and humidity. Before installation, the flooring must acclimate to your home environment.
Delivery timing. We coordinate delivery to occur well before installation begins. The wood should arrive at least seven to fourteen days before work starts, sometimes longer depending on seasonal conditions.
Acclimation conditions. The flooring is stored in the rooms where it will be installed, or in rooms with similar temperature and humidity. Your home should be climate-controlled during this period, with HVAC running as it normally would.
Why this matters. Northwest Arkansas experiences significant humidity variation between seasons. Wood that is not properly acclimated will expand or contract after installation, causing gaps, buckling, or cupping. Taking the time to acclimate prevents these problems.
Phase 3: Preparation
Before installation day, your home needs to be prepared. Some preparation is your responsibility, and some we handle.
Furniture removal. All furniture, rugs, and belongings must be removed from the work area. If you need assistance, we can recommend movers or discuss options. The space needs to be completely clear for work to proceed efficiently.
Existing flooring removal. If applicable, we remove carpet, vinyl, laminate, or other existing flooring. This reveals the subfloor for inspection and preparation. Disposal of old materials is included in our service.
Subfloor preparation. The subfloor must be clean, flat, dry, and structurally sound. We address any squeaks, repair damaged areas, and ensure the surface is ready to receive the new hardwood. This step significantly impacts the final quality and longevity of your floors.
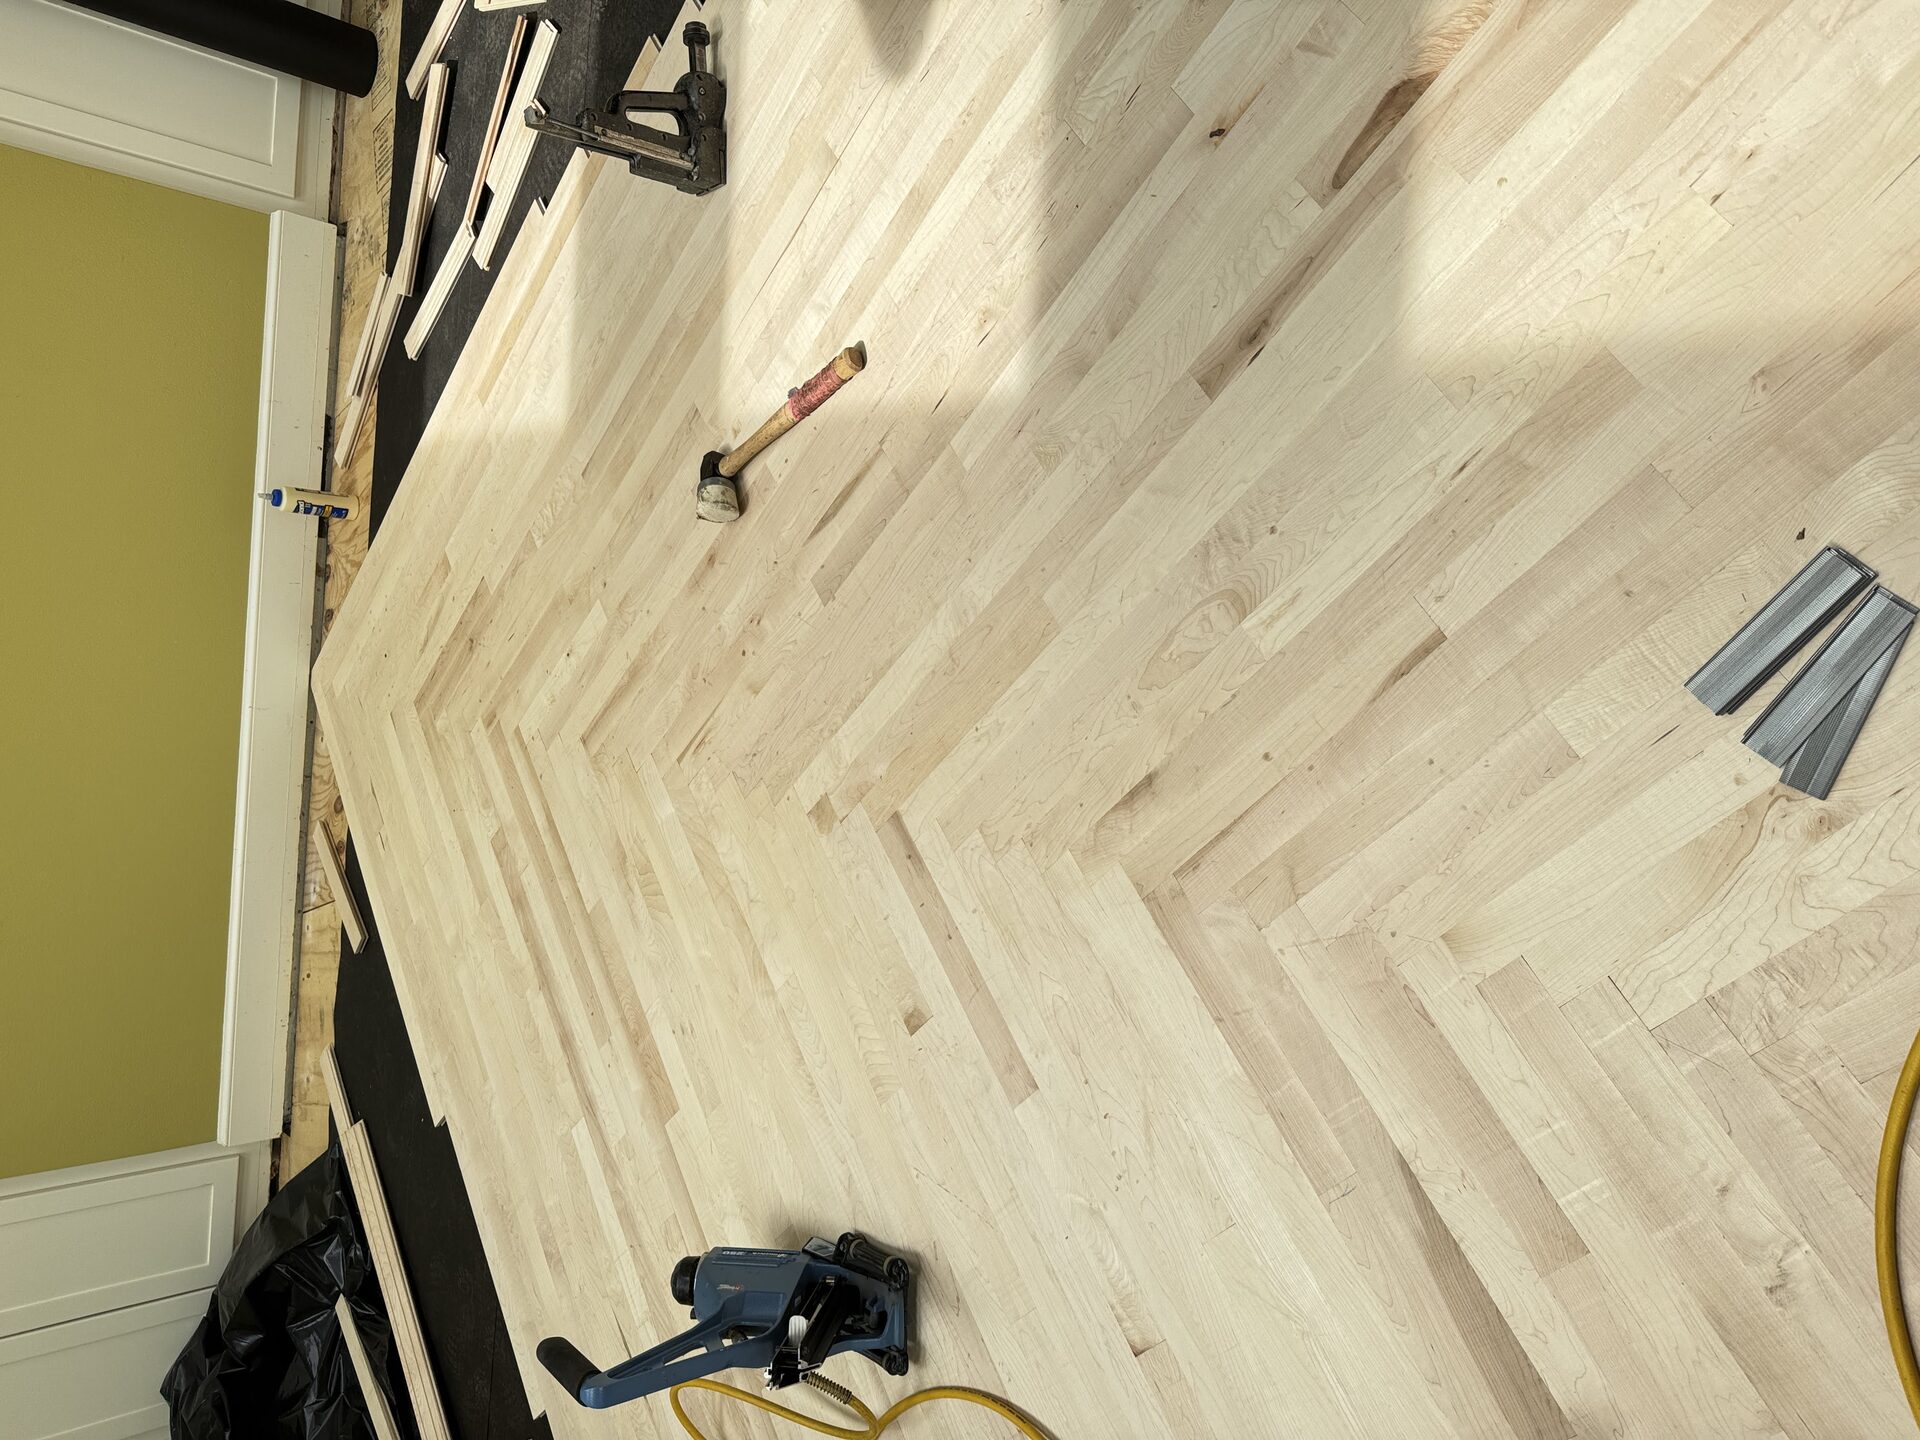
Phase 4: Installation
Installation day is when your vision starts becoming reality. The actual laying of boards is methodical and precise work.
Layout planning. We determine the optimal direction for the boards based on the room orientation, light sources, and how the floor will flow through connected spaces. Proper layout also ensures boards are centered and balanced within each room.
First rows. The starting rows are the most critical. They establish the alignment for everything that follows. We take extra care to ensure these rows are perfectly straight and properly spaced from the walls.
Progression. Installation proceeds methodically across the room. Each board is inspected before installation, and boards are selected to create a balanced appearance of color and grain variation. Problem boards with defects are set aside.
Detail work. Around doorways, into closets, and at transitions requires careful cutting and fitting. These details separate professional installation from amateur work.
Daily progress. A professional crew typically installs several hundred square feet per day, depending on the room complexity and installation method. We can provide an estimate of installation days needed for your specific project.
Phase 5: Finishing (For Unfinished Floors)
If you chose unfinished hardwood, the finishing process happens after installation. Pre-finished flooring skips this phase.
Sanding. We sand the installed floor with progressively finer grits to create a perfectly smooth surface. This removes any minor height differences between boards and prepares the wood to accept stain and finish.
Staining. If you want a color other than natural, stain is applied and allowed to penetrate the wood. We ensure even coverage and consistent color throughout. After staining, the floor needs time to dry before finishing.
Finish coats. Multiple coats of protective finish are applied, with sanding between coats for optimal adhesion. Each coat needs proper drying time. Rushing this phase compromises durability.
Curing. After the final coat, the finish needs additional time to fully cure and harden. During this period, traffic should be limited and furniture should not be moved back yet.
Phase 6: Completion and Walk-Through
The final phase involves putting everything back together and ensuring you are completely satisfied.
Baseboard and trim installation. We reinstall baseboards and any trim that was removed. If new baseboards are part of the project, we install those. Proper trim work frames your new floors beautifully.
Cleaning. We thoroughly clean the work area, removing all dust and debris from the installation process. Your home should be ready for you to enjoy.
Walk-through. We walk through the completed project with you, pointing out any areas you should know about and answering questions. This is your opportunity to raise any concerns before we consider the project complete.
Care instructions. We provide detailed guidance on caring for your new floors, including when furniture can be moved back, recommended cleaning products, and maintenance tips for long-term beauty.
Total Timeline Overview
Putting all the phases together, here is what a typical project looks like:
- Consultation to contract: One to two weeks depending on scheduling
- Material ordering and delivery: One to four weeks depending on availability
- Acclimation: Seven to fourteen days minimum
- Preparation and removal: One to two days
- Installation: Two to five days for most homes
- Finishing (if applicable): Three to five days
- Final cure before full use: Three to seven days
A typical project from initial contact to enjoying your new floors spans four to eight weeks, with much of that time being acclimation and curing rather than active work in your home.
Planning Tips for Homeowners
Schedule strategically. If possible, plan installation during moderate weather when humidity levels are stable. Spring and fall are often ideal in Northwest Arkansas.
Plan for displacement. You will not have access to rooms during installation and finishing. If the project covers most of your home, consider temporary arrangements.
Communicate with us. The more we know about your schedule constraints, special events, or concerns, the better we can plan the project to work for you.
Ready to Start Planning Your Project?
Contact us to schedule a consultation and get a detailed timeline for your specific installation.
Schedule Consultation